Showing posts with label Bustle. Show all posts

Wednesday, 12 January 2011

This is why I’m not the photographer

_DSC0002_DSC0009_DSC0007_DSC0013_DSC0017_DSC0019_DSC0021

I wish I knew her name, here are the pictures taken by the professional that uni organised for the end of the project. I get my feedback about how I did soon, hope it goes well.

In the mean time, I’ve been feverishly corset making. 2 down, 3 to go, I have 5 full sets of Moulin rouge costumes to make for my flatmates birthday night out next Wednesday.

_DSC0003

Tuesday, 9 November 2010

Bum Enlarger

Swans are not shaped like humans, this is fairly obvious. Some serious bum padding is required to give the skirt its proper shape. I made two toiles, a bum pad, and a bustle, to see what worked the best.
I added ruffles to the bum pad the beef it out a bit. And they are adorable.
I used a laughing moon short bustle pattern.
Plus ruffles.

Being larger, this will give a more dramatic shape to the skirt. So I think it is the one I will go with.

Saturday, 3 July 2010

Match up, check, move, check, move, check, repeat

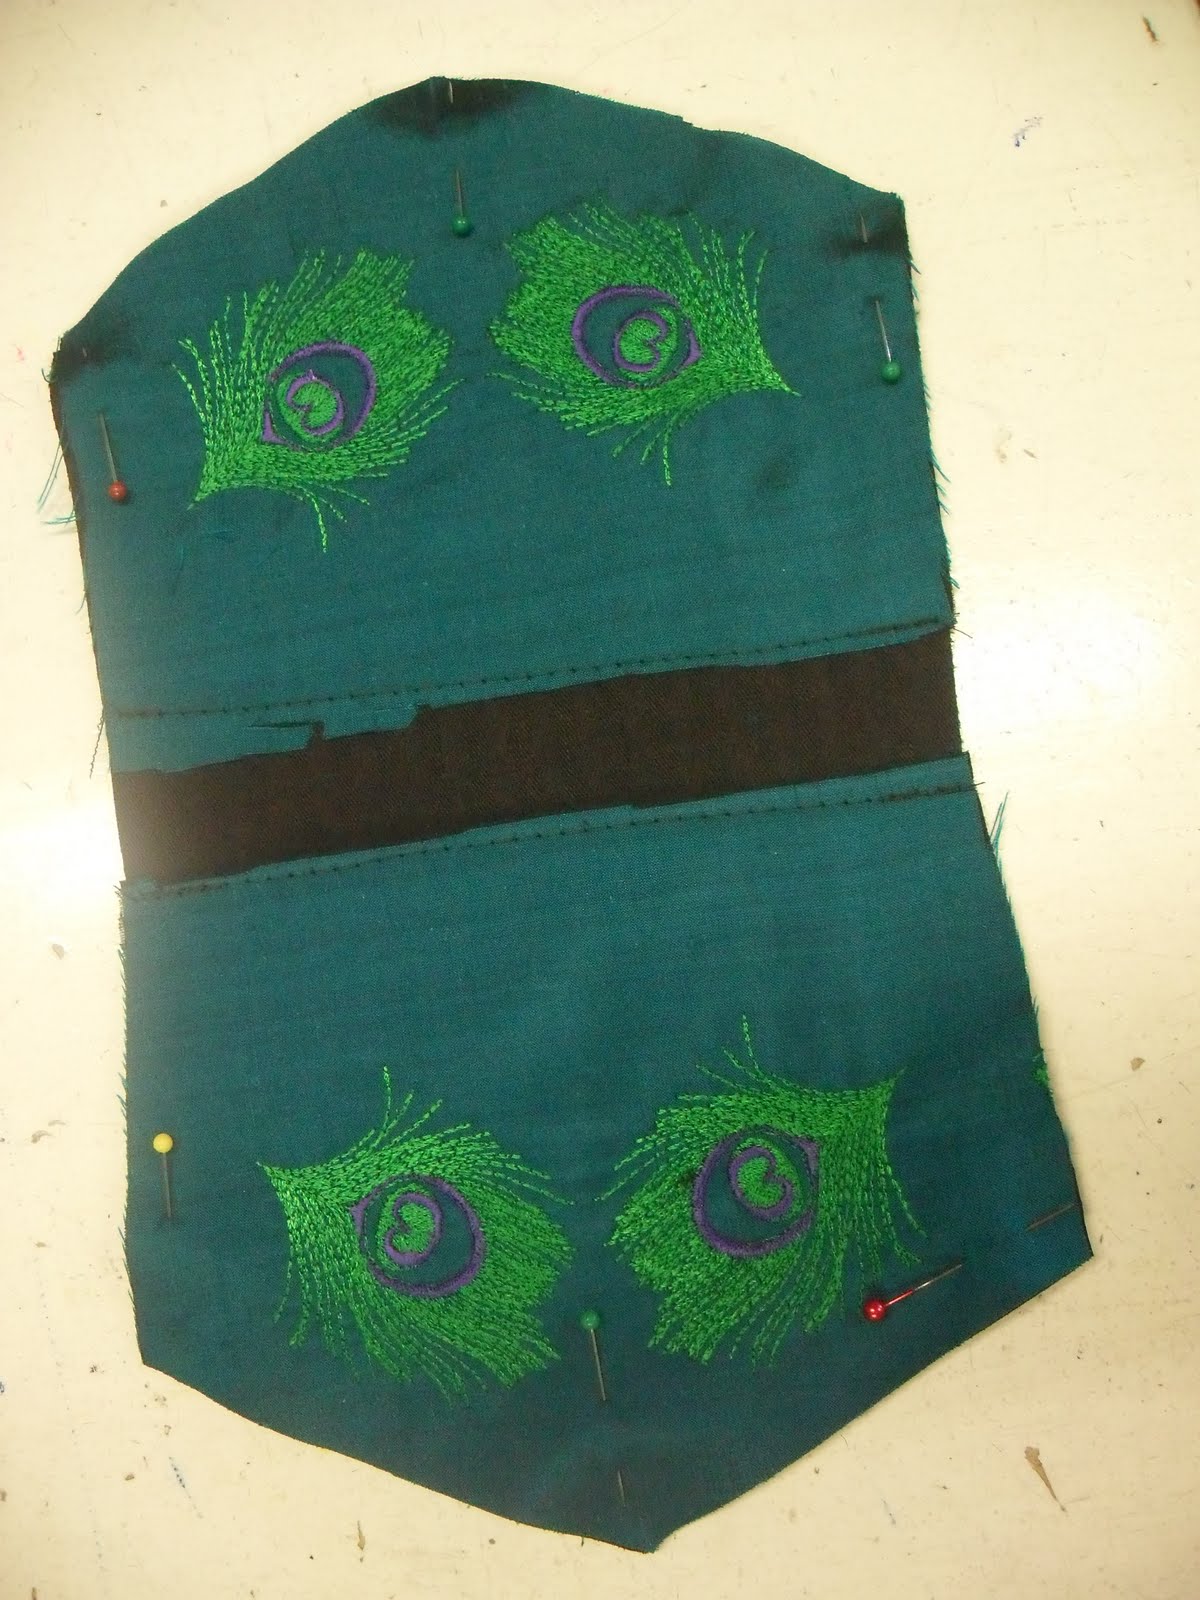
This week at the Custom Costume Company, we have been working on a dance costume for Ron. As a whole it involves a bustle (big bum cage skirt), a swag (half skirt that goes over the bustle) and a waist-cincher corset, as well as various added tid-bits just for fun. Ron has a tiny 23" waist normally, so the corset is absolutely minuscule, and to make it more interesting, its no plain ordinary corset. No, this one gets peacock embroidery and an appliqué shaped waist belt pattern.
These are the freshly embroidered back panels, I had the job of marking out the patten placement so that they exactly (or near as can be) mirrored each other. This was mainly done with pins, a ruler, and trial and error.
This is the centre front panel before the belt was added.The embroidery on this one turned out to be too close together to allow room for the belt, so Denise added the extra black band of fabric.
This is the start of the belt, the centre front piece. I used the tracing wheel and carbon paper to trace the pattern onto silk, added seam allowances and cut out, stitched with a large stitch, along the lines, and snipped the curves.
I then ironed the shape, using the stitch lines as the folding position, and pinned then tacked it to the centre front piece. The ironing took a lot of gentle teasing and edging into place, I'm still not entirely 100% happy with it, but I couldn't get it any closer.
Next I stitched around the edge with the sewing machine and removed the original edge stitches and tacking stitches. The machine stitch seamed to slightly even out the imperfections in the ironing.

I then repeated this process for every piece of the pattern. By far the most difficult part was matching up the edges so that the belt would flow round smoothly when it was all joined together. I found the most effective way to do this was mark on the seam allowances on the undersides, match two edges at once up with pins and carefully have a look to see if the belt panels matched. 60% of the time they didn't, so I had to unpick and re-work until they did.
They looked pretty good, but they haven't been sewn together yet, only then will I know how good a matching up I really managed.

Sunday, 27 June 2010

One Scoop or two?

I work as much as I am allowed at The Custom Costume Company. I get to help make all sorts of goodies, we have just finished a little project that has been nicknamed "The Ice-cream Dress", mainly due to the yummy colours and the two huge scoops on both arms.
My jobs included stitching the trim onto the cuffs,
and hand sewing the sleeve mounts into the sleeves using invisible stitch, so there are no raw edges, or even over-locked edges visible inside.
I also helped to finish off the bustle, which goes under the skirt and gives it its shape.

This involved stitching the hook and eye onto the waistband more firmly than any hook and eye have even been stitched before. These things will never be moved again, ever! They have to hold up the entire bustle with the weight of the skirt atop it, and what with all the pompoms, this is quite a weight.
I also stitched the ends of the triangles of lace down to prevent them flicking up and getting caught on things.
And finally I finished off the hem by hand sewing lace and more pompoms over the ram edges.
I also made the white blouse underneath the jacket. I made that entirely solo, it was nice to do something from scratch by my self and I was pleased by how it turned out.