Showing posts with label Embroidery. Show all posts

Saturday, 12 March 2011

Starting work on the dress.

DSC00362

I finally started work on the actual dress, I wanted to get the footman out of the way first because I was less confident about that one.

DSC00365

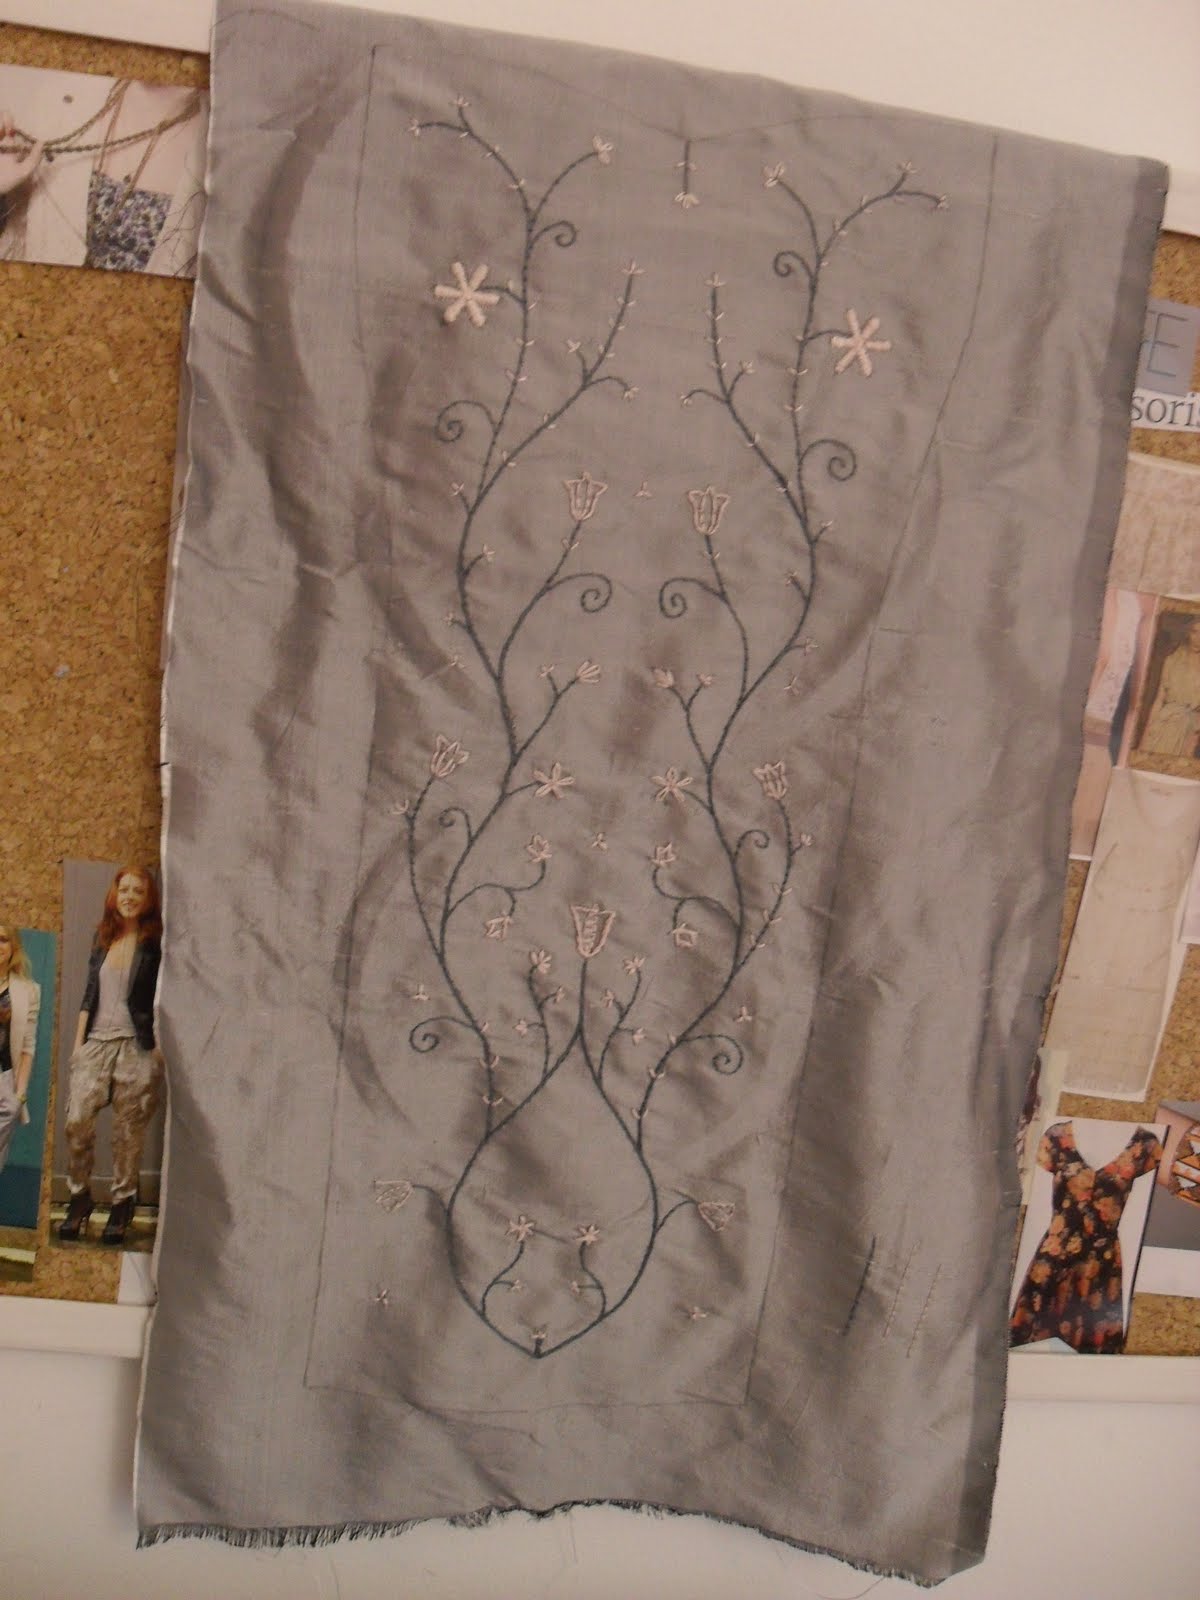
I cut out the pieces the other day and set to it yesterday. The outside is embroidered silk, the inside is brown cotton. I was going to just stitch it together, no embellishment, but it looked a bit plain, so I thought I’d add some piping.

DSC00364

I’ve done a little bit of piping before at work, but not much. I used the brown cotton of the liner to make it.

DSC00367

It was definitely the right decision, the edge is a lot smoother.

DSC00369

The puff sleeves look really cute, they keep their shape better than the toile because I puffed the lining as well.

DSC00368

Though I did get a bit carried away stitching the liner, so I have to hand sew round the cuff edge rather than the shoulder seam.

Wednesday, 12 January 2011

This is why I’m not the photographer

_DSC0002_DSC0009_DSC0007_DSC0013_DSC0017_DSC0019_DSC0021

I wish I knew her name, here are the pictures taken by the professional that uni organised for the end of the project. I get my feedback about how I did soon, hope it goes well.

In the mean time, I’ve been feverishly corset making. 2 down, 3 to go, I have 5 full sets of Moulin rouge costumes to make for my flatmates birthday night out next Wednesday.

_DSC0003

Sunday, 26 December 2010

The Completed Valkyrie


Of course these are not from the proper photo shoot, these are very feeble in comparison. But you can see the costume. I'm so happy its all come together, no major drama's at all.

Corset Time

Seen as I have already made corsets, I left this part until the end because I knew roughly how lng it would take. I did allow a little extra time however, because there were bust gores and feather embroideries to do.
I wanted the feathers to be peeping out from the edges of the gores.
I used calico for the liner, aesthetically its not the best, but it had to be done for time and monetary purposes.
I decided to bone both sides of the panel seams, I really like the stitch lines.
I bias-bound the inner edges at the back and hand-stitched it down.
I made a slight mistake with the bias-binding around the bottom, machine stitched it to the inside rather than the outside. Never mind though, a little bit of unpicking solved that.

Just some flossing at the base of the gores to be done, I tried very hard to stop it from fraying, but the silk was just too delicate.

Monday, 13 September 2010

Back and Busy

So I'm back from Ghana, after having an absolutely amazing time, and after a few days rest it was straight back into creativity mode. It feels so good to be making stuff again, the most sewing I did the entire time I was away was a bit of mending.
Denise had been working really hard on tunics while I was away, but there was still about 6 left, so I set to work on them. The basic shape is really simple, but with all the embroidery and edging and yolks we are lucky to finish 2 in a day. We make them in batches though, like a conveyor-belt system but without the conveyor-belt.
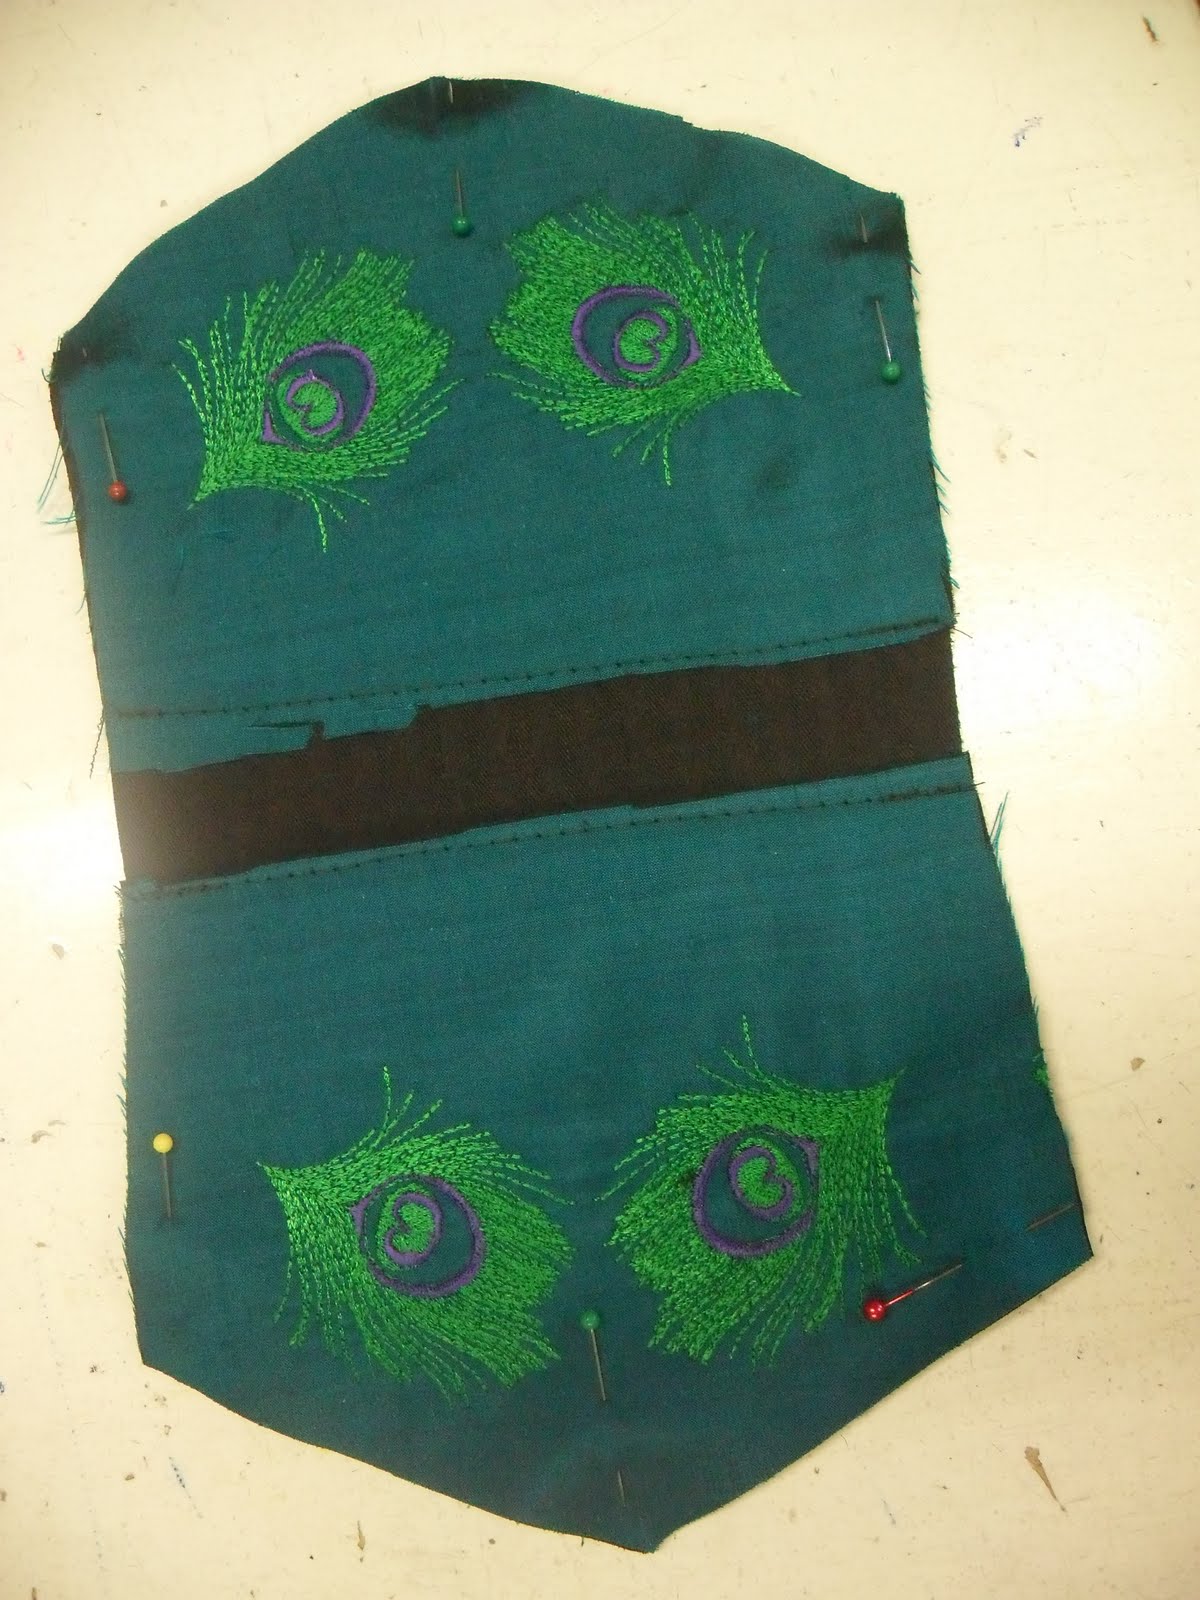
One of them had to be extra special, so I filled in the some of the machine embroidery with metallic thread satin stitch. It came out looking slightly evil, because of its now apparently glowing eyes, but I was pleased with it. The metallic thread was a lot thinner than the embroidery thread I am used to working with, so I had to be extra careful.
Here is one of the many tunics before it got sent off. They certainly are cosy.
Whilst I was tunicking, Denise was beavering away on a trail for a new project; wings! Lots of foam, contact glue and latex paint, stuff I haven't really ever used before, so it will be an interesting process to watch. One thing though, permanent pen absolutely loves to rub off foam onto arms.

Thursday, 8 July 2010

And fin

Flatmate-Weathers' corset is finished, bound and eyeletted, with the exception of a modesty panel and a bag to put it in which will come later. I will take some much better photos when i have daylight, time and an appropriate length of corset lace.

Positives: Colours and fabrics work very nicely together, embroidery on the front panel lies smooth and flat, not too much puckering, neat bias binding, slimming effect from colours, good length.
Negatives: Strange thing going on around the bust channels - not quite sure what that is, slightly too high under the arms - its wearable but should be no higher than the top of the bra strap, there is some bagging on the lining - caused by using stretchy denim and the method of construction. This could be improved by pulling the extra fabric in each panel over their straightest neighbouring channel and tacking.

Wednesday, 7 July 2010


Flatmate-Weathers' corset is nearly done. Its not quite fully boned yet,and I still have to do the bias-binding around the top and the eyelets so it can be laced (it was being held by Weathers and her boyfriend Shum for the photograph).
I thought the differently coloured panels would have a slimming effect. But it took me by surprise by how greater an optical illusion it created.
I didn't have enough budget to buy fabric to make my own bias-binding, so I bought some pale pink satin ready-made stuff from John Lewis. I found the satin wasn't as nice to work with as the silk (not unexpectedly), but it does still look pretty, and picks out the pink colour in the flowers - in real life anyway. I must learn to take my pictures before it gets dark.

Goodbye fingertips

Today I did all the finishing off stages on Ron's corset (the one with the belt of appliqué panels). The majority of this was bias binding, measuring cutting it out, sewing it on the front with the machine, and invisible stitching it onto the lining.
I enjoy the hand sewing parts, though this corset was harder than usual, the lining layer was cortile. So instead of the nice thin silk or cotton like I had sew through before, I had extra extra thick material that really doesn't appreciate having a needle shoved into it. To the point I even had to use pliers a couple of times.

But now its finished, with a tiny 18" waist when its fully closed. We are doing a photo shoot on Sunday so I will be able to show its full glory then.

Sunday, 4 July 2010

Lining, a debatable concept

Today I unpicked and reworked the last of the embroidery for Flatmate-Weathers' corset, I'm glad I did because I'm so much happier with it now, the larger flowers look much less weedy and much more complete. I also cut out and mounted onto calico all the facing pieces, grey for the four front-most panels, and white for the rest.
Now the issue is, how to line it? I have some lovely fabrics lying around but they would all have to be mounted. On the other hand I have some fairly standard denim-like stuff which wouldn't need to be. It would work, but the inside wouldn't look as pretty. Decisions decisions...

Saturday, 3 July 2010

Finished the embroidery...or perhaps not


Well here is the "finished" front panel for Flatmate-Weathers corset. I am pleased with the stems, the buds, and the star-like flowers, but I'm really not feeling the tulip ones. I had a slight pink thread crisis half way through and had to go out and buy some more. But before that I tried to make it stretch further by using less strands. This made the flowers really weedy. I think I shall pick them out and start again.

Off to the museum...Court Mantua

The second little V&A outfit, 1775-85 court mantua. For some reason a bit of my brain fell out, and I didn't photograph the entire garment, so my sketch will have to do.
The fabric of this was stunning. I just can't get my head round having the patience for that much hand embroidery, I suppose they didn't have the internet to distraction which seems to be my main downfall.

Match up, check, move, check, move, check, repeat

This week at the Custom Costume Company, we have been working on a dance costume for Ron. As a whole it involves a bustle (big bum cage skirt), a swag (half skirt that goes over the bustle) and a waist-cincher corset, as well as various added tid-bits just for fun. Ron has a tiny 23" waist normally, so the corset is absolutely minuscule, and to make it more interesting, its no plain ordinary corset. No, this one gets peacock embroidery and an appliqué shaped waist belt pattern.
These are the freshly embroidered back panels, I had the job of marking out the patten placement so that they exactly (or near as can be) mirrored each other. This was mainly done with pins, a ruler, and trial and error.
This is the centre front panel before the belt was added.The embroidery on this one turned out to be too close together to allow room for the belt, so Denise added the extra black band of fabric.
This is the start of the belt, the centre front piece. I used the tracing wheel and carbon paper to trace the pattern onto silk, added seam allowances and cut out, stitched with a large stitch, along the lines, and snipped the curves.
I then ironed the shape, using the stitch lines as the folding position, and pinned then tacked it to the centre front piece. The ironing took a lot of gentle teasing and edging into place, I'm still not entirely 100% happy with it, but I couldn't get it any closer.
Next I stitched around the edge with the sewing machine and removed the original edge stitches and tacking stitches. The machine stitch seamed to slightly even out the imperfections in the ironing.

I then repeated this process for every piece of the pattern. By far the most difficult part was matching up the edges so that the belt would flow round smoothly when it was all joined together. I found the most effective way to do this was mark on the seam allowances on the undersides, match two edges at once up with pins and carefully have a look to see if the belt panels matched. 60% of the time they didn't, so I had to unpick and re-work until they did.
They looked pretty good, but they haven't been sewn together yet, only then will I know how good a matching up I really managed.

Wednesday, 30 June 2010

A finished project

We finished this wedding dress a few weeks ago at the Custom Costume Company. I just got the photos.