Showing posts with label Tutorial. Show all posts

Saturday, 18 June 2011

Making the Neck Piece

DSCN2848

In total it took about 4 days work to complete the Valkyrie neck piece. It’s scale mail like I was doing before, but instead of the jump rings I was using before, for this one I was using split rings. Split rings are very similar to key rings but these ones are much smaller, about 0.5cm across.

DSCN2850

I was using scales of half the size as well, so the whole job was much more fiddly. I used a simple link method for the main body, which means there are two links per scale, but the join at the shoulders was more complicated and involved five links per scale.

DSCN2852DSCN2854

Took a while to work out how to to the back, I ended up just making a line of scale, the hole was big enough for it not to need a fastening, it could slip on over the head.

Wednesday, 9 February 2011

Sword Making Part 2

DSCN2188

Trace round the 9mm rectangle onto 6mm, and glue onto one side.

DSCN2190

Draw out the shape of the sword (a template and ruler help), then cut out (vertical cut, don’t angle yet).

DSCN2196

Stick another sheet of 6mm onto the other side of the 9mm.

DSCN2200

Using the already cut out area as a template, cut round the newly stuck on plastazote.

DSCN2202

Using a ruler and a craft knife carefully shape the plastazote at an angle to look like a blade.

DSCN2203

Trim the sword at the end so there is 4.5inches of pole poking out the end. Cut out a 4.5” x 4” piece of soft lead. This is what makes the sword a sufficient weight.

DSCN2204

Glue and wrap the lead round the pole at the end of the sword. A hammer helps to get the last bit right.

DSCN2206

Glue some 6mm round over the top of the lead, leaving the leather covered bit of pole poking out the end.

This is the point to design what kind of handle and detail to do. Which is what I’m off to do.

Sword Making Part 1

167819_10150123172563615_646183614_7679282_1044242_n

Martin is teaching me how to make weapons (like the ones above), not the dangerous metal kind, the slightly squidgy plastazote kind. Obviously I have used plastazote before to make the armour for my Valkyrie costume, but this is different. He makes them for live role-play events, so they have to be strong enough to withstand the fights, but soft enough not to actually hurt anyone.

DSCN2178

Start with a pole a few inches shorter than you want the sword. I’m not sure what the poles made of, but they are used mainly in ship building. File the rough ends slightly, and glue (contact adhesive throughout) a strip of leather over the top.

DSCN2177

Make a blank out of 9mm plastazote a few inches wider and longer than you want the sword, cut a slit down the middle, wide enough for the pole at one end.

DSCN2184

Glue the pole into the slot and then glue a small patch of leather over the ends on both sides (below).

DSCN2186

Monday, 13 September 2010

My first gusset

Today was about learning, I learnt one of the ways to take a pattern from an existing corset. Put it inside-out on a stand, and piece by piece lay paper of it and feel the edges, drawing and shuffling pins all the while. Its not particularly scientific, but it did work and was pretty simple, even with quite a curvy corset, I just had to be patient with it and keep checking. We tried using fabric to draw on first, but the stretch made it too inaccurate, a lack of tissue paper meant I actually used interfacing, unusual choice maybe, but it worked excellently.
Some of the pieces contained gussets - I've never made a corset with gussets before, they were actually pretty simple. When Denise had tinkered with the pattern to make it all neat and fitting, I cut the pieces out of courtil.
I stitched round the gusset slot (probably not the official name) with a large stitch, and used the stitch line as a guide to fold and press the raw edges under.
I then matched up the gusset, pinned it, and stitched it. Simples. Thanks to some wonderful pattern cutting it matched up perfectly.

I made the new pattern into a toile, and it worked really well. Its not fully boned, but the real thing is going to look lovely. It will be part of the costume that the wings are for.

Sunday, 11 July 2010

Tutorial: Modesty Panel

The modesty panel is the rectangle of fabric that goes in the space behind the lacing on a corset. It is much neater than skin when you aren't wearing anything underneath the corset.
The size of the rectangle is the width of the gap in the lacing plus about 2", by the height that will look right, this varies corset to corset depending on the style, so its a matter of personal choice. Cut this out on the fold of your corset fabric, plus seam allowances.
Then cut out the same again from a lining fabric, I used black cotton.
Put both fabric pieces together, fold so the lining is on the outside, and pin.
Sew around the edge leaving a 2" gap for turning.
Snip the corners.
Turn the right way out and press.
Sew around the edge of all four sides.
Pin the long side of your rectangle to on side of the corset. I have slide mine under the bias binding because there is a gap, but if this is not the case it doesn't matter.
Stitch down with small neat stitches. If the modesty panel is probably going to be removed the just tack it..
Remove the pins.
Iron the panel in the direction it will lie, over the eyelets.

Finished, now it is ready to lace and wear.

Saturday, 3 July 2010

Match up, check, move, check, move, check, repeat

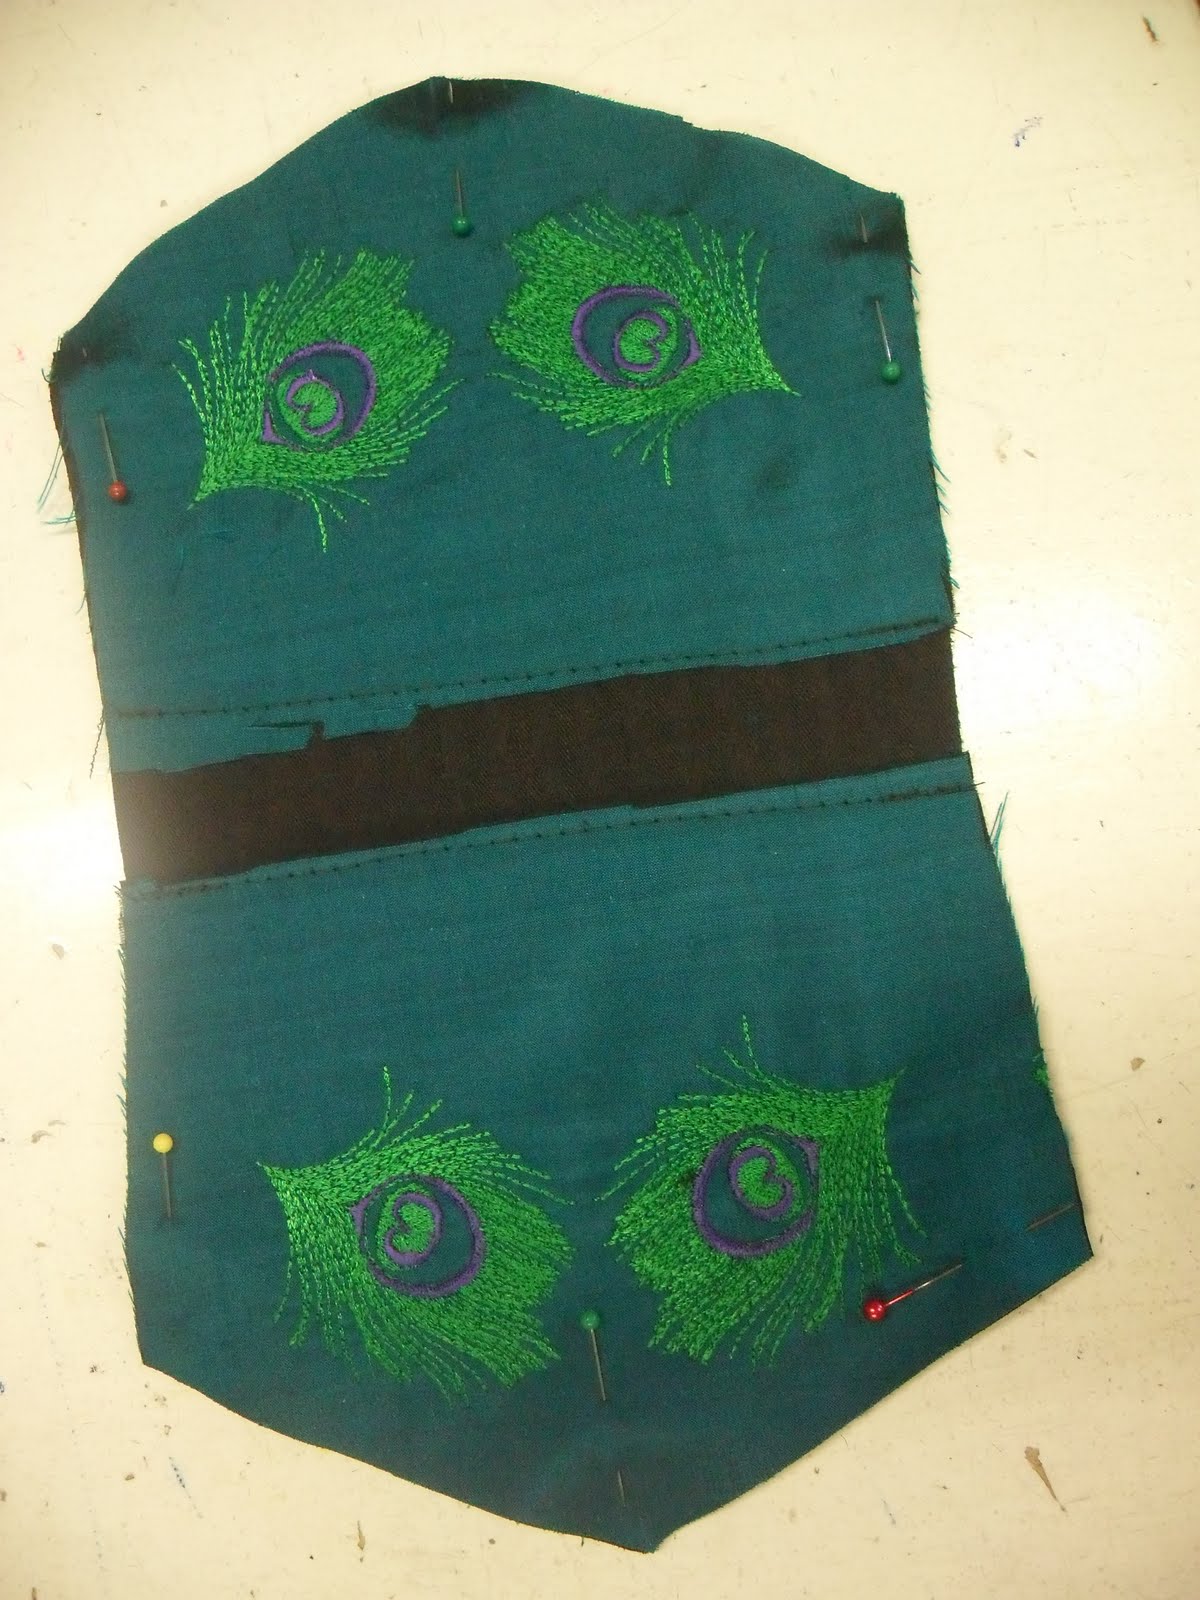
This week at the Custom Costume Company, we have been working on a dance costume for Ron. As a whole it involves a bustle (big bum cage skirt), a swag (half skirt that goes over the bustle) and a waist-cincher corset, as well as various added tid-bits just for fun. Ron has a tiny 23" waist normally, so the corset is absolutely minuscule, and to make it more interesting, its no plain ordinary corset. No, this one gets peacock embroidery and an appliqué shaped waist belt pattern.
These are the freshly embroidered back panels, I had the job of marking out the patten placement so that they exactly (or near as can be) mirrored each other. This was mainly done with pins, a ruler, and trial and error.
This is the centre front panel before the belt was added.The embroidery on this one turned out to be too close together to allow room for the belt, so Denise added the extra black band of fabric.
This is the start of the belt, the centre front piece. I used the tracing wheel and carbon paper to trace the pattern onto silk, added seam allowances and cut out, stitched with a large stitch, along the lines, and snipped the curves.
I then ironed the shape, using the stitch lines as the folding position, and pinned then tacked it to the centre front piece. The ironing took a lot of gentle teasing and edging into place, I'm still not entirely 100% happy with it, but I couldn't get it any closer.
Next I stitched around the edge with the sewing machine and removed the original edge stitches and tacking stitches. The machine stitch seamed to slightly even out the imperfections in the ironing.

I then repeated this process for every piece of the pattern. By far the most difficult part was matching up the edges so that the belt would flow round smoothly when it was all joined together. I found the most effective way to do this was mark on the seam allowances on the undersides, match two edges at once up with pins and carefully have a look to see if the belt panels matched. 60% of the time they didn't, so I had to unpick and re-work until they did.
They looked pretty good, but they haven't been sewn together yet, only then will I know how good a matching up I really managed.

Friday, 18 June 2010

You may call me the Eyelet Queen

There are quite a lot of different ways to set eyelets. I have used a cheap little hand punch one before, but it never gave very good results. However after eyeleting about 100 little holes over the past few days, I'm pretty sure I have mastered this better method.
You need: Something to eyelet, I was doing a corset toile,
Some eyelets,
Same number again of washers,
A solid base for hammering onto,
A hammer,
An eyelet base,
An eyelet steadying stick thing.
First make a hole, I used a hefty metal hole punch, but you can ease the fabric threads aside or very carefully use scissors. Then push the eyelet through the hole, make sure the right side is on the right side.
Now place the eyelet, still in the fabric, onto the eyelet base so that the front sits neatly in the little dent.
Place the washer over the top of the wrong side. It needs to be the way up so that it makes a little circular trough, this gives a place for the squashed eyelet to sit.
If you get it the wrong way round (like I did when I wasn't paying attention) it looks messy and isn't as strong, use some small pliers, carefully ease the pieces apart and start again.
Place the small end of the stick thing into the eyelet over the washer, and give it a few raps with the hammer.
It should now look like the top two eyelets in this picture. If it sticks up too much, put the stick back on and hammer it some more.

Now turn it over and tah-dah! Neat little holes, perfect for lacing.